lemonade
Continue Coding Assistant
Continue provides open-source Integrated Development Environment (IDE) extensions, such as for Visual Studio Code and JetBrains, and an open-source CLI that lets developers leverage custom AI coding agents.
This guide walks through how to use Lemonade Server with the Continue VS Code extension for code generation, editing, and chat capabilities, all running locally on your AMD PC.
Prerequisites
Before you start, make sure you have the following:
Software Requirements
- IDE: Visual Studio Code (v1.80+) or another supported IDE.
- Lemonade Server: Installed and set up using the Getting Started guide.
- Lemonade Server Running: The server should be running at
http://localhost:13305. If you change the port in Lemonade Server (e.g., to 8020, 8040, etc.), you’ll need to update the API Base URL in Continue’s configuration to match the same port. - Model Downloaded: At least one model from the supported models list must be installed locally.
Hardware Requirements
For best results, a code-tuned model with at least 20B parameters is required. To run such a model:
- Minimum spec: PC with an integrated GPU (Ryzen™ AI 7000-series or newer) and 64 GB system RAM.
- Recommended specs:
- PC with a discrete GPU that has 16 GB VRAM or greater (Radeon™ 7800 XT or newer).
- Strix Halo PC with 64 GB System RAM or greater.
Setup
Configuring Lemonade Server with Continue
- Install Models Locally
-
Use the Model Manager or
lemonadeCLI to download your desired model, for example:lemonade pull <model-name>Example downloading Qwen3-Coder:
lemonade pull Qwen3-Coder-30B-A3B-Instruct-GGUF
-
-
Start Lemonade Server: Ensure Lemonade Server is running at
http://localhost:13305. The server starts automatically after installation. You can verify withlemonade status. - Verify Model is Loaded: Use the Model Manager or tray icon to confirm your model is loaded and ready. Continue will automatically detect Lemonade Server running on localhost.
Setting Up Continue Extension in VS Code
- Go to Extensions Marketplace: In VS Code, click the Extensions icon in the Activity bar (default is on the left).
-
Add “Continue”: Type “Continue” in the search box. Click “Install” on the Continue extension entry.
Example marketplace screen:

- Open Continue in VS Code: After installation completes, the Continue logo appears in the Activity bar. Click it to open the extension.
-
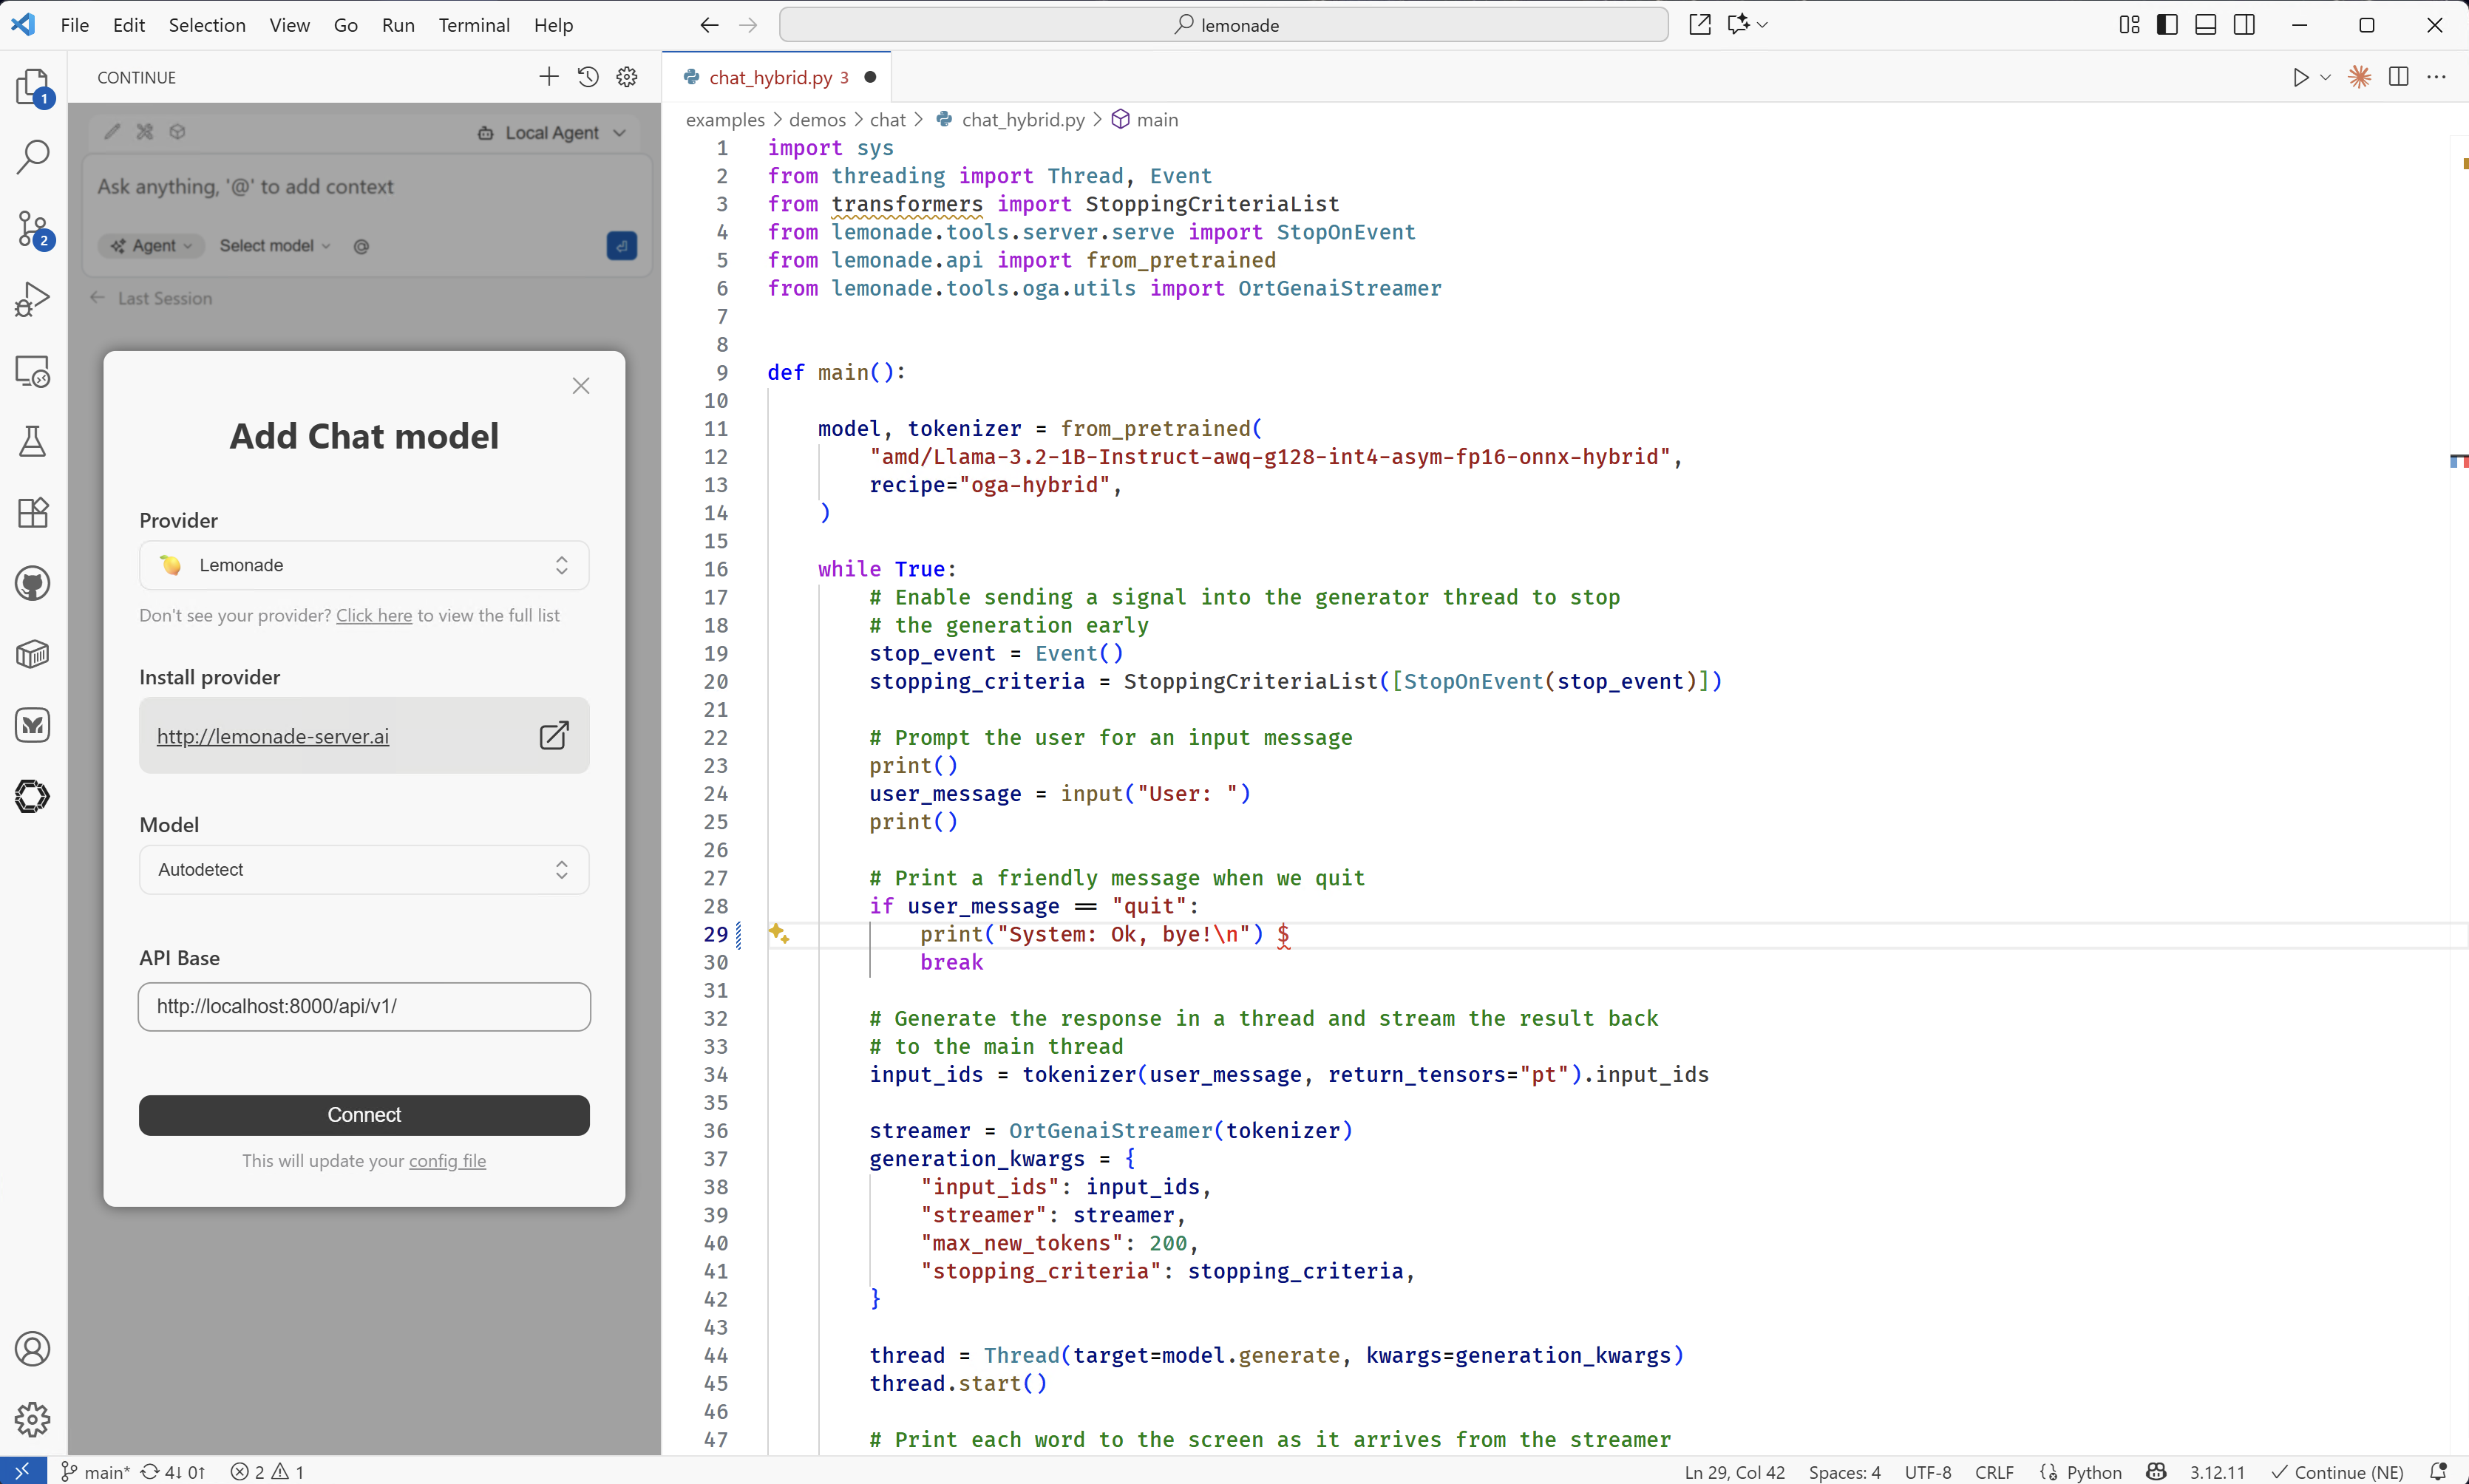
Add Lemonade Server Provider: Click the model dropdown menu in the Continue sidebar, then select “Add Chat Model”. Choose “Lemonade Server” from the list of available providers. Continue will set the default address to
http://localhost:13305, but it can be changed to match a different setup.Example configuration screen:
-
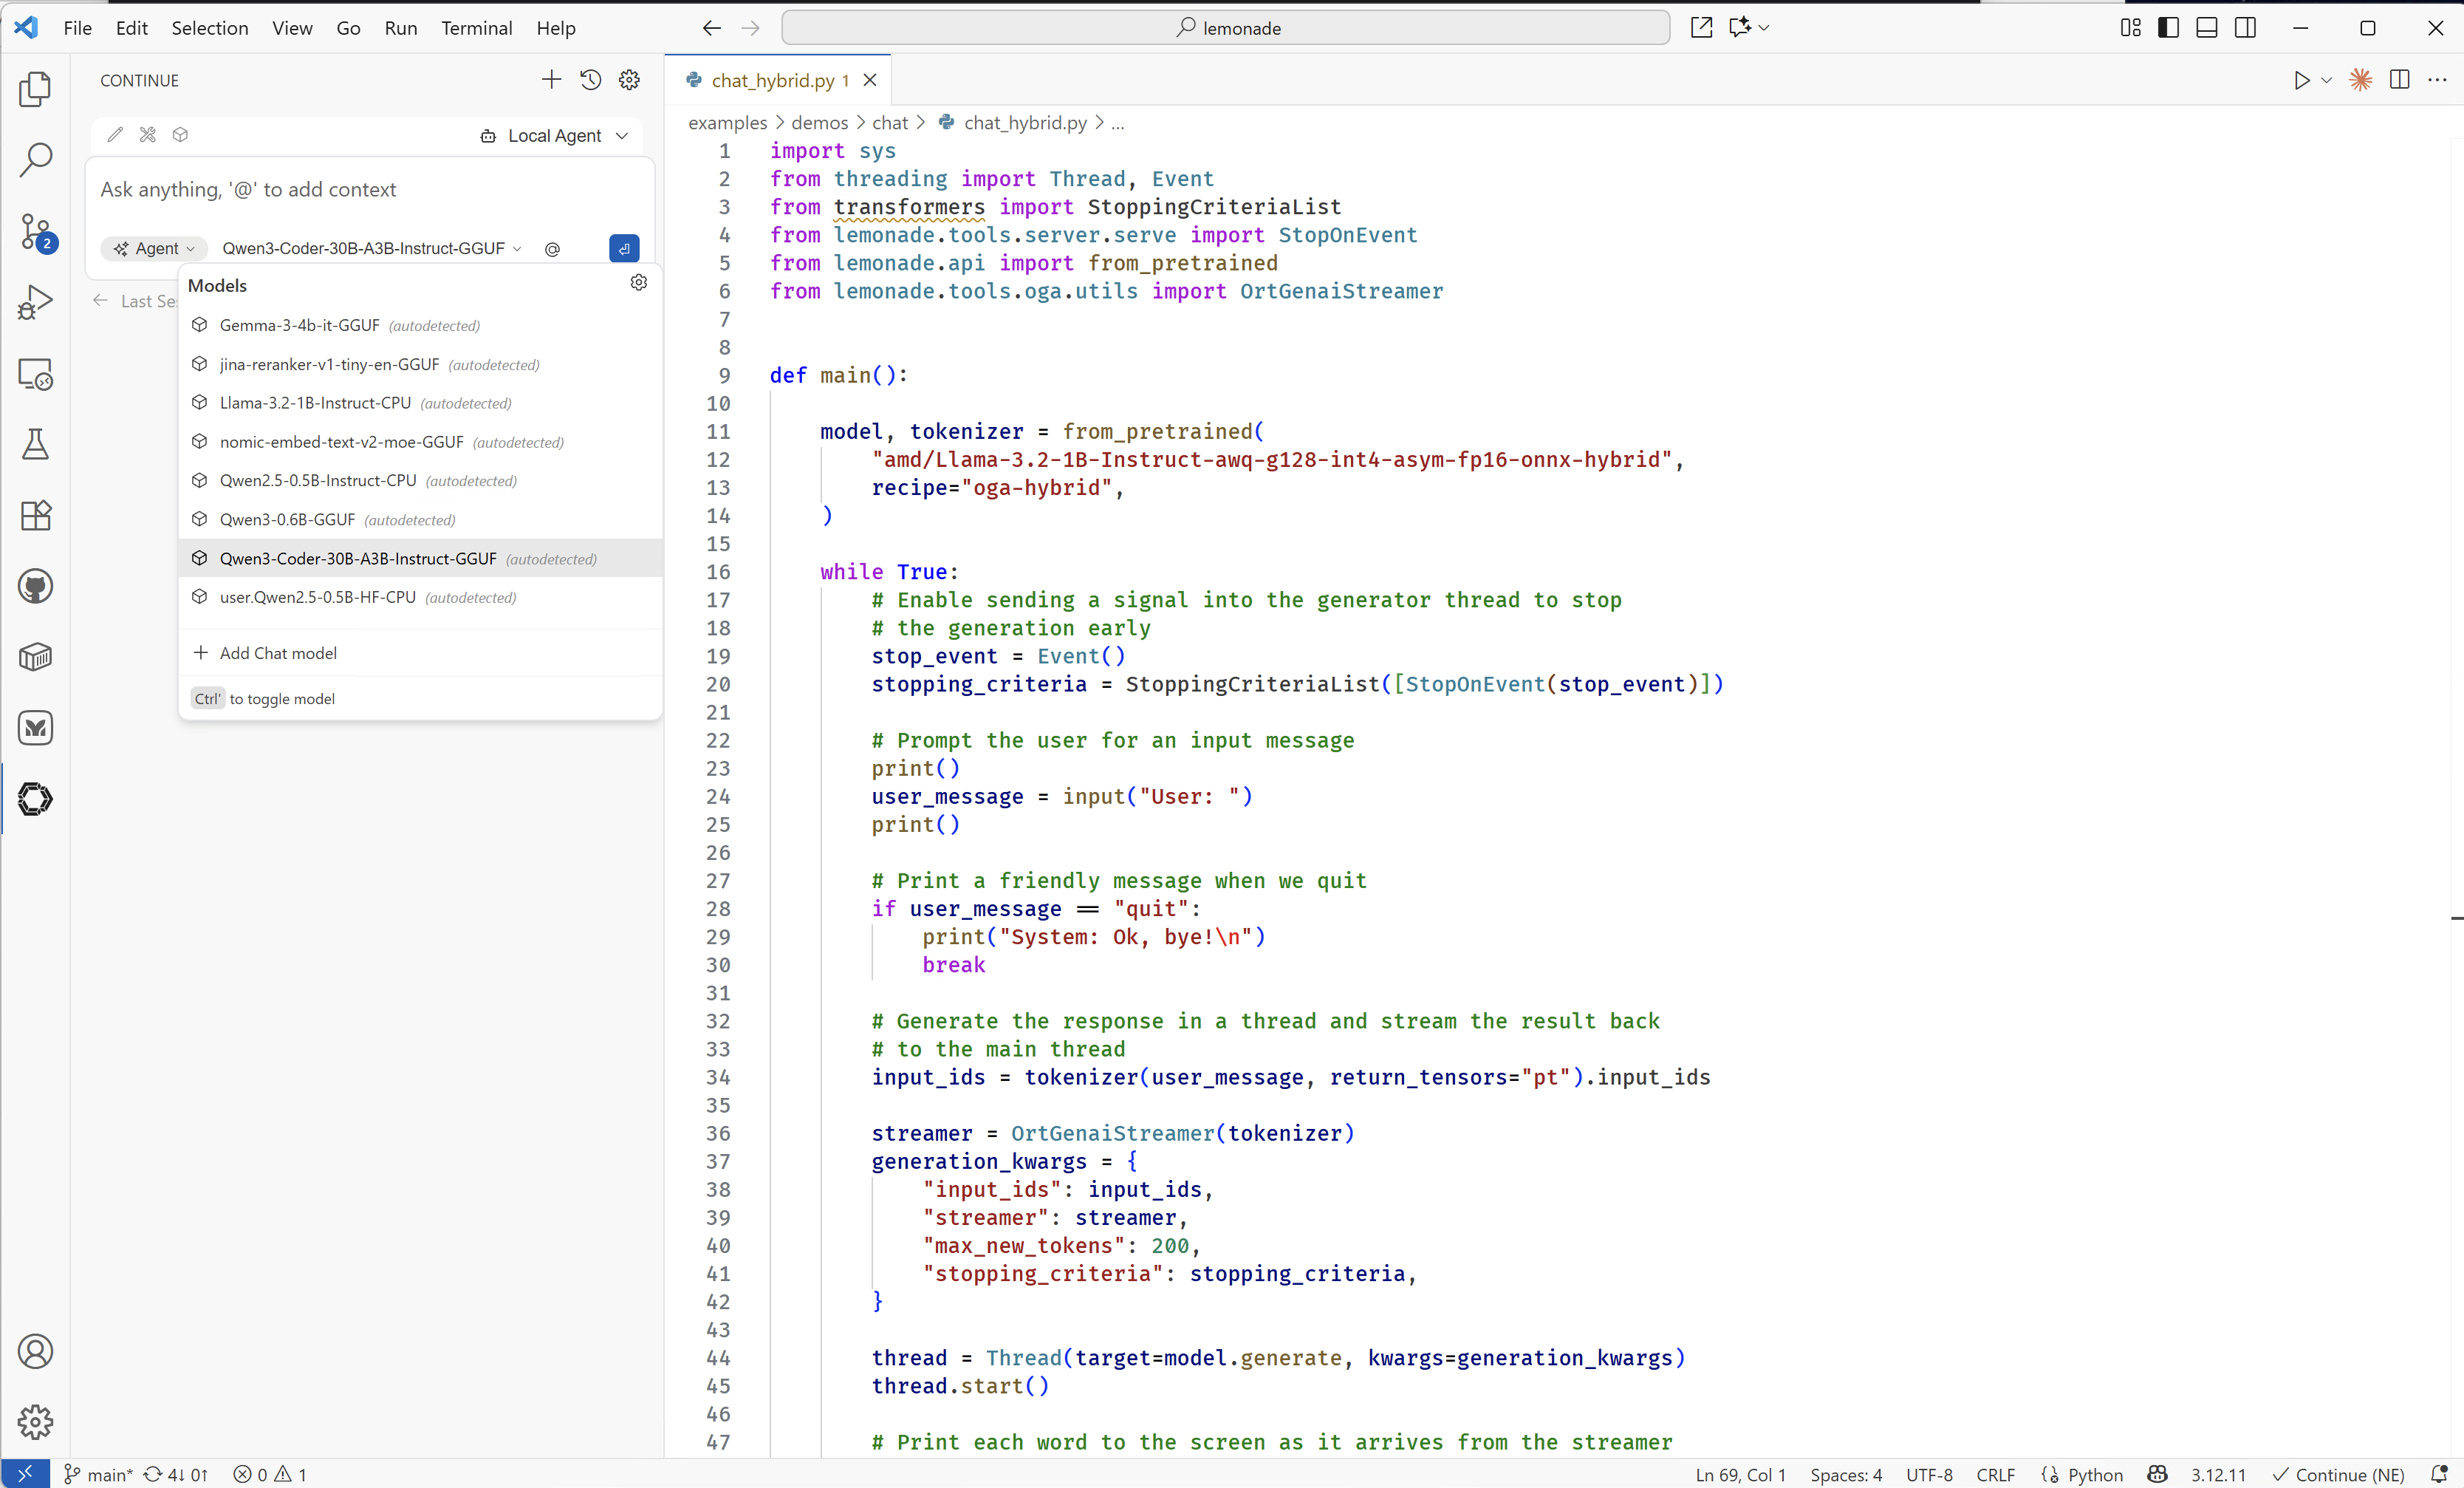
Select Your Model: Once Lemonade Server is added, use the drop-down menu to select the model you downloaded earlier (e.g.,
Qwen3-Coder-30B-A3B-Instruct-GGUF).Example model selection:
Working with Continue.dev
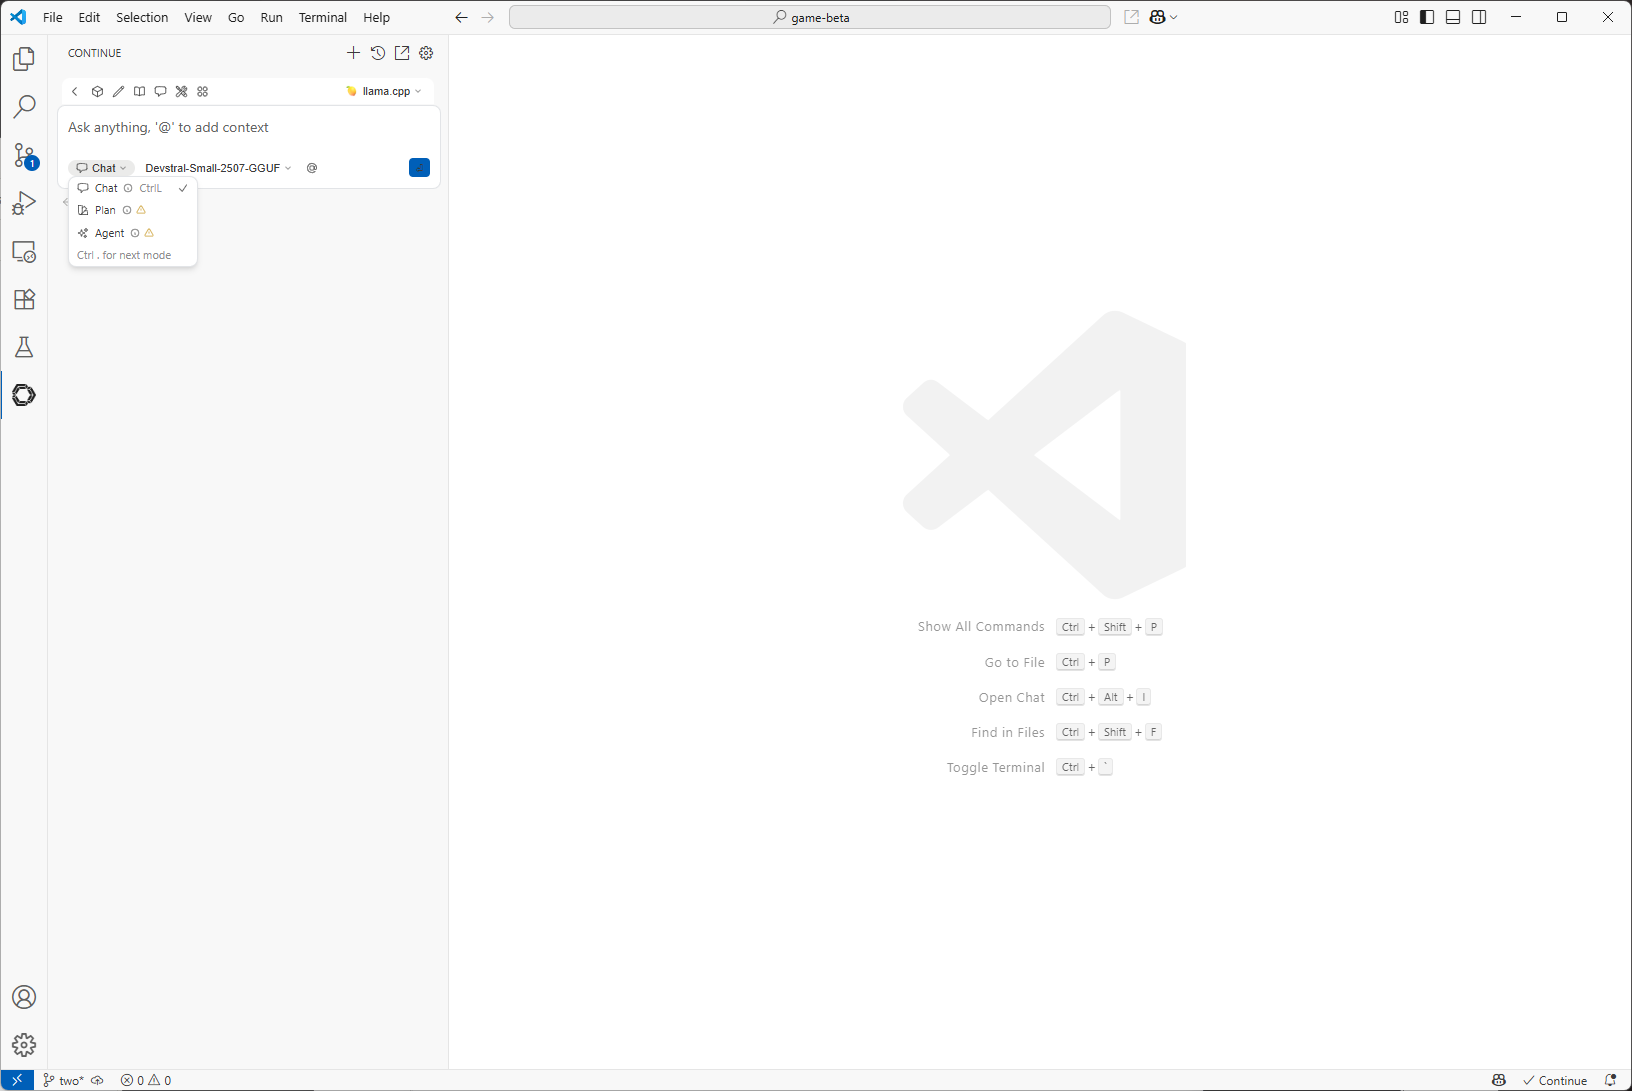
Continue provides three interaction modes for different development tasks:
- Chat: Code explanations, debugging discussions, architecture planning
- Plan: Provides a safe environment with read-only tools for exploring code and planning changes
- Agent: Multi-file refactoring, large-scale changes across projects
See the Continue Documentation for detailed descriptions.
Examples
Example 1: Chat Mode - Building an Asteroids Game
In this example, we’ll use Qwen3-Coder-30B-A3B-Instruct-GGUF model to build a Python game.
Input: I want to create an asteroids game using PyGame. What guidelines should I follow in the code to do so?

The model provides a basic framework for an Asteroids game. You can then prompt it to provide you some sample code to get started.
Input: Provide me a basic implementation to get started.

In the top-right corner, you can click the “Create file” to move the code from the chat window to a Python file and save it. To run, install pygame and execute the code with python main.py.
Example 2: Plan Mode - Analysis of the Game
In this example, we’ll use Plan mode to have the LLM analyze your code and provide feedback. Plan mode reviews your code and suggests improvements, but does not modify your files.
To use Plan mode with large files, increase Lemonade Server’s context size:
-
Load the model with a higher context size: Open a terminal and run:
lemonade load <model-name> --ctx-size 8192For persistent changes, see Server Configuration.
-
Use Plan mode in VS Code: Select the “Plan” option in Continue, enter your prompt and press Alt+Enter to include the currently active file as context.
Input: What improvements could be made to this game?

Example 3: Agent Mode - Improving the Game
Lastly, we’ll use Agent Mode to take action to change the code to implement improvements.

Here, we can see that the agent edited the code in main.py to improve the gameplay and add colors.
Best Practices
Setup & Configuration
- Install Lemonade Server: Follow the setup guide to install and configure Lemonade Server before you begin development.
- Download Models Locally: Use
lemonade pull <model-name>to install models you want to use. Refer to the supported models list for available options. - Pre-load Models: Start Lemonade Server and load your models before coding sessions. This can easily be done using the Lemon tray icon and
Load. - Increase Context Size for Agent Mode: For large code changes with GGUF models, load the model with a higher context size:
lemonade load <model-name> --ctx-size 8192 - Customize Scoping: See Continue Customization for tips on effective model configuration and scoping.
Development Workflow
- Start New Conversations for Each Feature: Begin a fresh chat for every new feature or task. Clear chat history when switching topics to keep interactions focused.
- Keep Prompts Focused: Only include the code and context relevant to your current task. This helps the model provide accurate and useful responses.
- Write Clear, Detailed Prompts: Structure your requests with a clear task description, specific requirements, and any technical constraints.
- Use Agent Mode for Multi-File Changes: Invoke agent mode with the
@symbol to perform refactoring or changes across multiple files. - Be Specific in Your Requests: Move from broad prompts (“Create a game”) to detailed ones (“Create an Asteroids game in Python using Pygame, under 300 lines, with ship controls and asteroid splitting”).
- Iterate and Test Frequently: Generate an initial implementation, test it right away, and refine with targeted follow-up prompts.
- Leverage Unlimited Iterations: With local models, you can iterate as many times as needed for continuous improvement.
Common Issues
Model not appearing in Continue
- Make sure Lemonade Server is running and the model is loaded locally.
- Double-check the supported models list and install any missing models with:
lemonade pull <model-name>
Slow response times
- Pre-load your model before starting coding sessions.
- Check your system’s available RAM and close unused applications to free up resources.
Missing error handling in generated code
- In your prompt, explicitly request: “with comprehensive error handling” to ensure the model adds proper error checks.
Inconsistent code style
- Provide a sample or example of your desired code style in your prompt. The model will use this as a reference for formatting.